Digital Art Tutorial
Learn How To Make Digital Art
Digital Art Tutorial.. Learn how to make digital art with PicMonkey photo editor. I use the free online editor PicMonkey to make most of my overlay digital art. I usually use three to ten overlays, sometimes more with the city art series. Below is the digital art I made to show you step by step, how to make digital art with overlays.
Before I begin any work, I prepare each digital image that will be used as an overlay. If not using my own images, I research the background of each image, being sure I may use them legally. Usually getting my overlay images from Wiki and Creative Commons helps with the rights of usage. I give each one titles, copyright, authorship and tags. I then edit size, light and color.
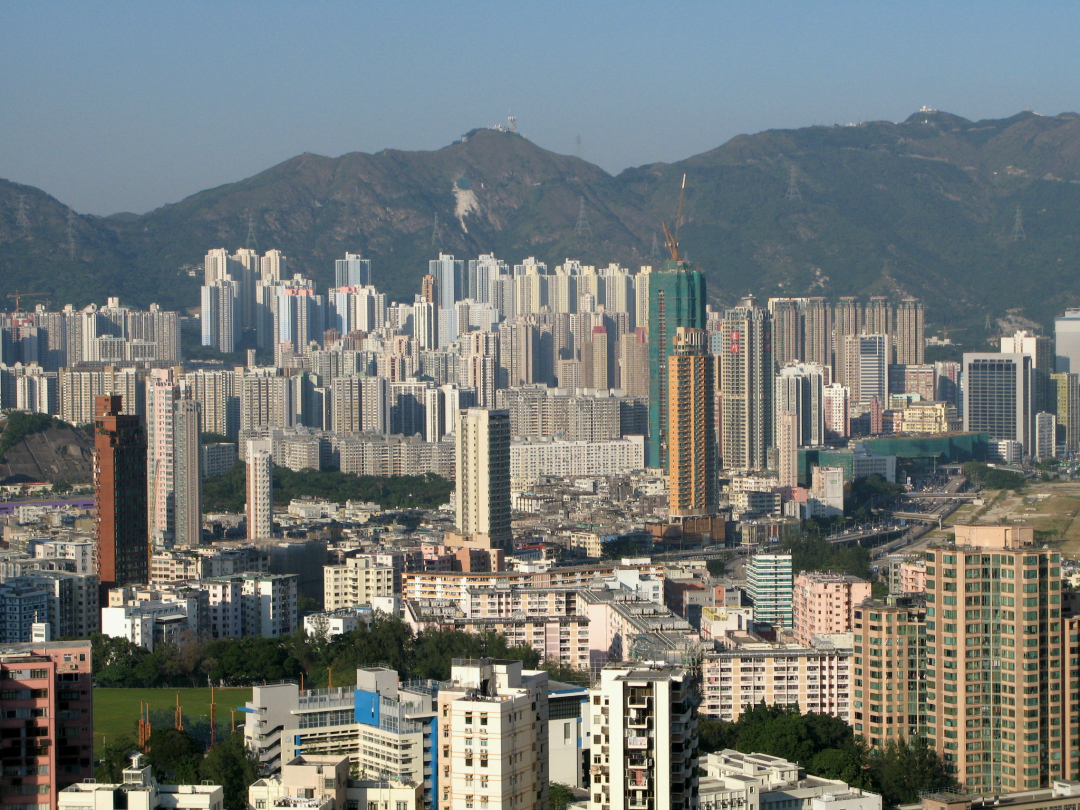
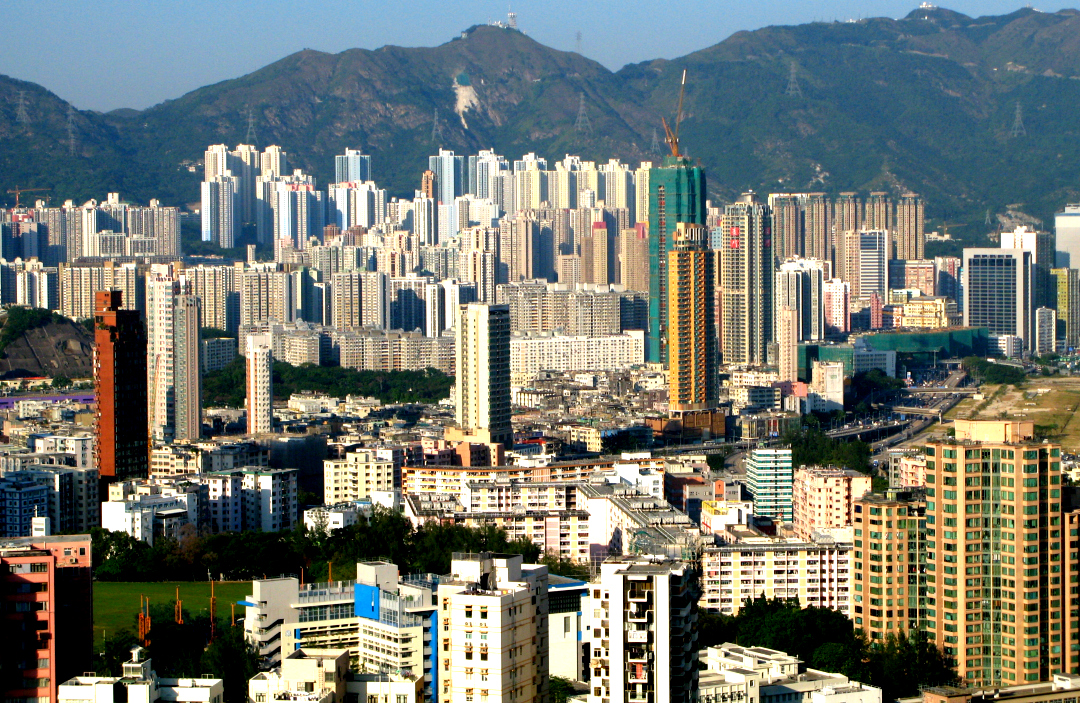
Digital Art Tutorial Step 2 Starting Image Size, Color and Contrast: The Kowloon City image was washed out and too large so I sized it down to best balance the background and gave it a bit more color. I also upped the contrast, giving it a darker and brighter look.
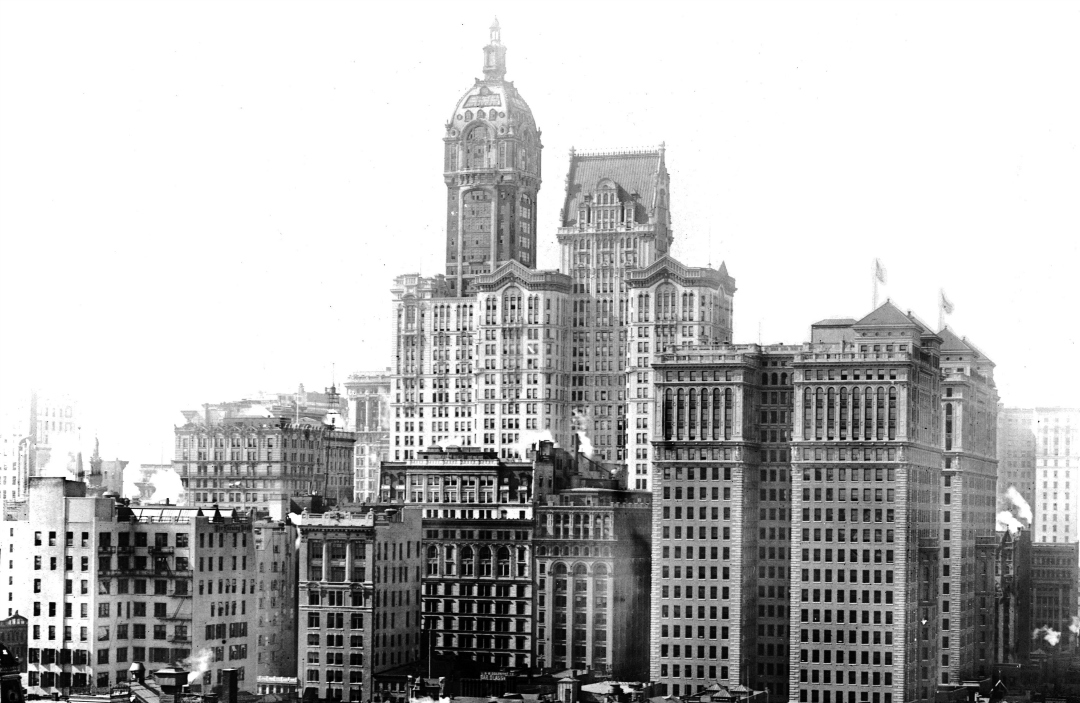
Digital Art Tutorial Step 3 How To Use Overlays, Overlay One: My first overlay is an antique image of the City Investing Building. I liked the aged washed out effects this image came with, adding it as an overlay to the bright and colorful Kowloon City image was thrilling.
Digital Art Tutorial Step 4 Adding Overlay One, Sharpen and Brightness: Once added, I choose to give The City Investment Building image a ‘difference’ blend mode. The blend mode is located midway down on each overlay’s basic editor. This gave the overall image an other worldly effect and knocked the colors out of their comfort zone. Using the difference effect brought out the outline of the Kowloon City image and gave it a blue tint. I appreciated the details with more sharpness and clarity.
Buy Art Prints About The Artist Art Tutorials Art News
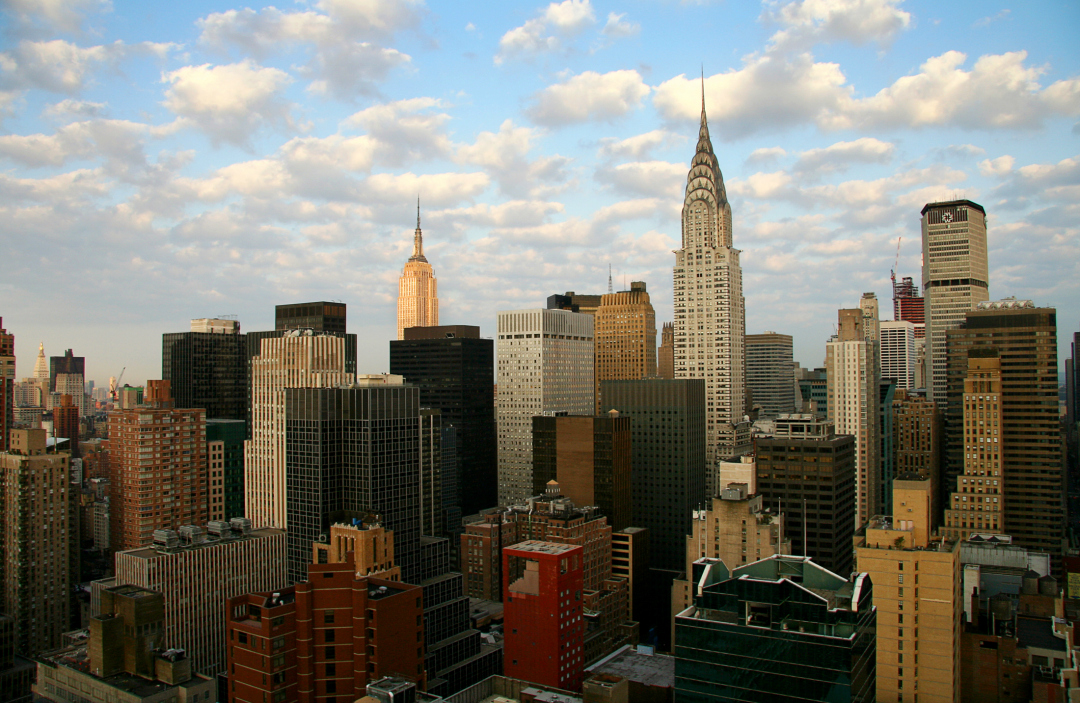
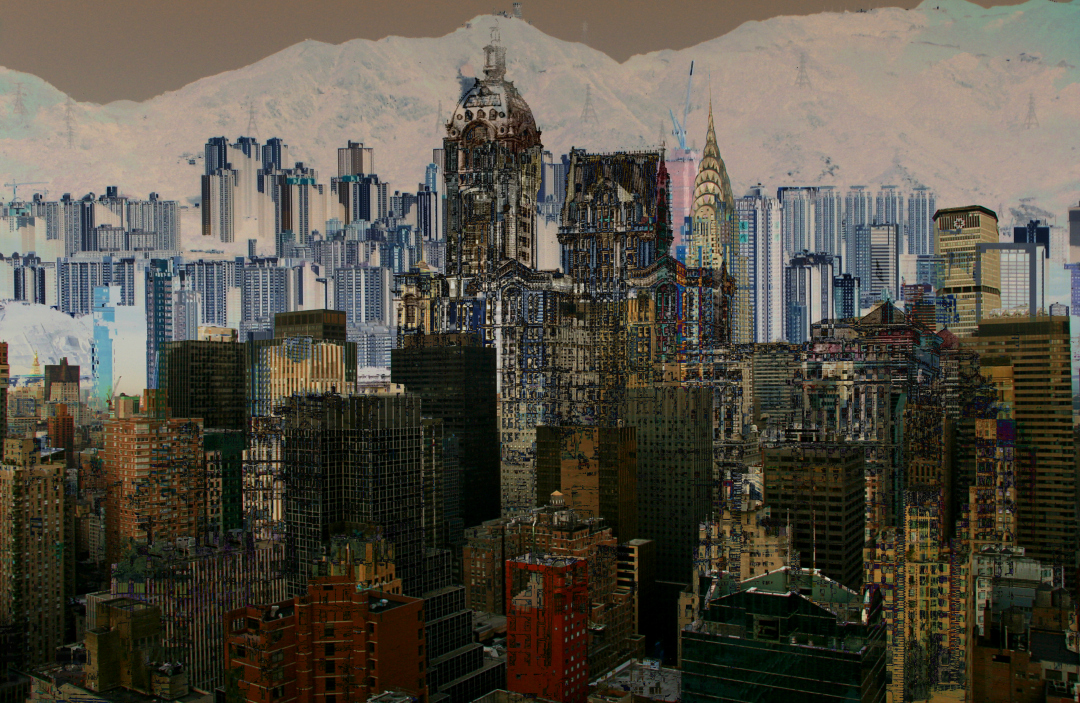
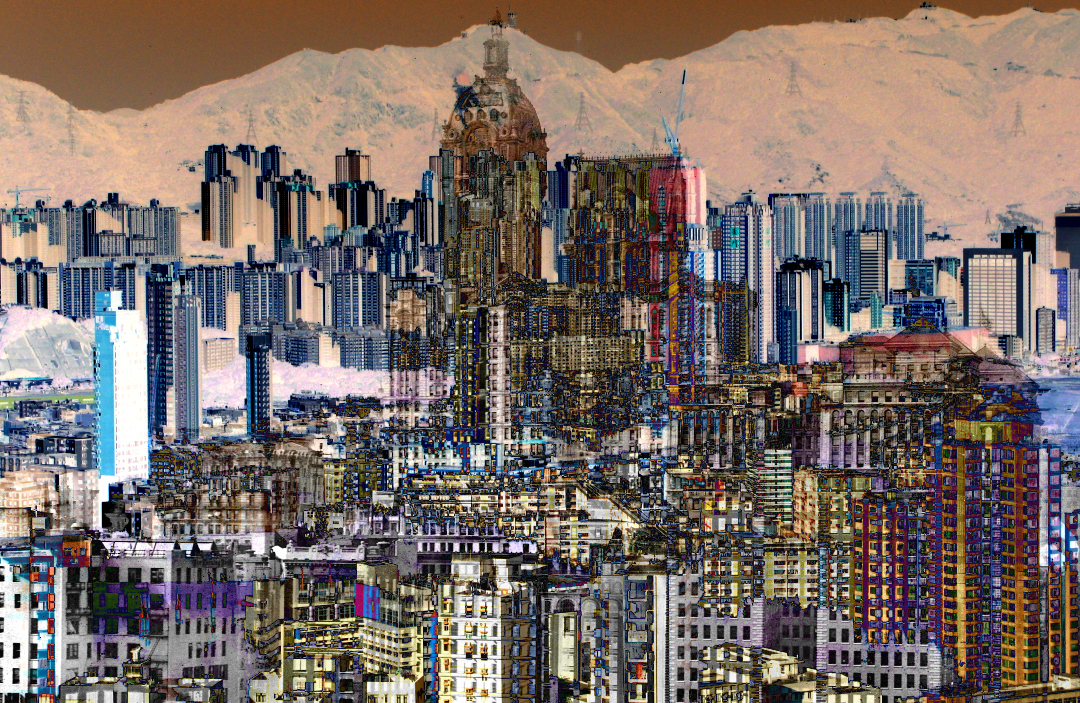
Digital Art Tutorial Step 6 Adding Overlay Two: After adding the New York City image, I gave it a difference effect in the basic mode editor. The difference effect allowed the new overlay to blend with the rest, show through each layer. This is what it looked like before editing brightness, color and contrast levels.
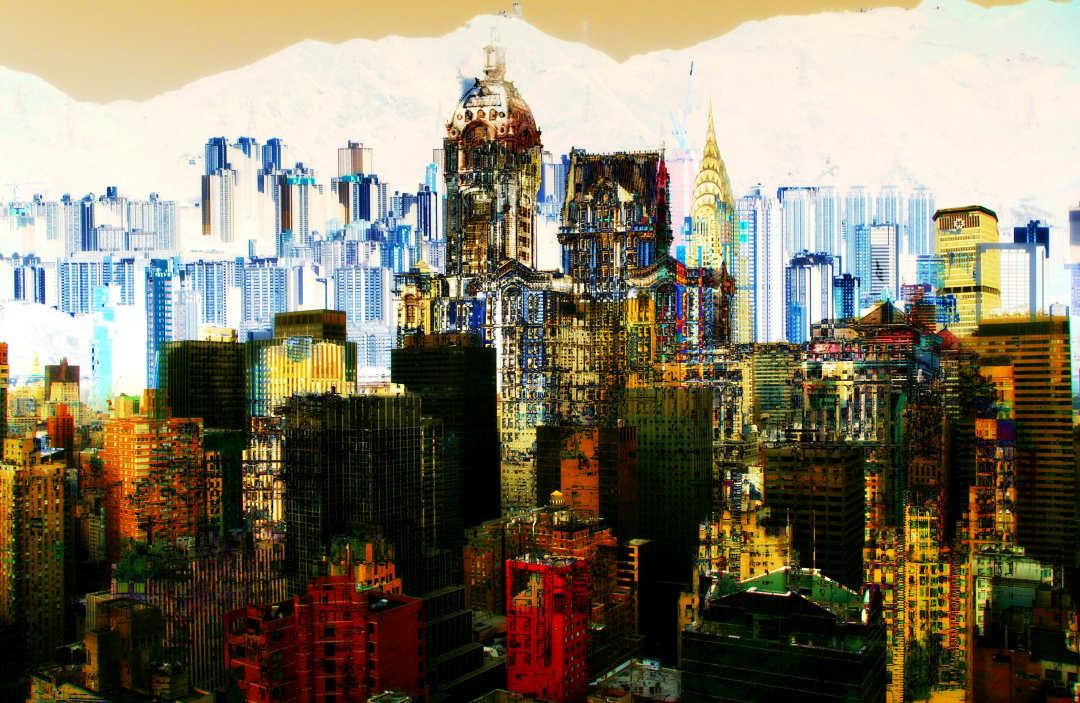
Digital Art Tutorial Final Step, Color and Orton: I then edited for color, contrast and a bit more brightness, testing the limits by trial and error. I essentially turn each edit tool up and down until I find the right look. I felt the work needed an Orton effect. You can find Orton under Tried and True in the PicMonkey Effects. I love Orton, it gives a dreamy glow and shine to the work. After saving my final edits, I change things up in ways that make the piece new, color variations, extreme contrast changes or additional overlays. There is always another great piece waiting just a few edits away.
This city art print is available for sale at Fine Art America.
Shop City ArtCity Art SeriesLandscape Art Layer Art Project
Watch a great video about how to use PicMonkey overlays, posted by PicMonkey. Get to know PicMonkey’s Overlay menu. They willl walk you through all the stickers and overlays you can use to make your images really stand out.
I am a PicMonkey Royal member which means I pay a small sum of money to use the extra edit options and fun buttons. It is very much worth the money for me, I use just about every button available to me and would miss them all. To sign up for Royal membership just visit the PicMonkey.com main page.
To see more PicMonkey videos, visit PicMonkey Videos. Check out the PicMonkey Tutorial video by Women. Connected.