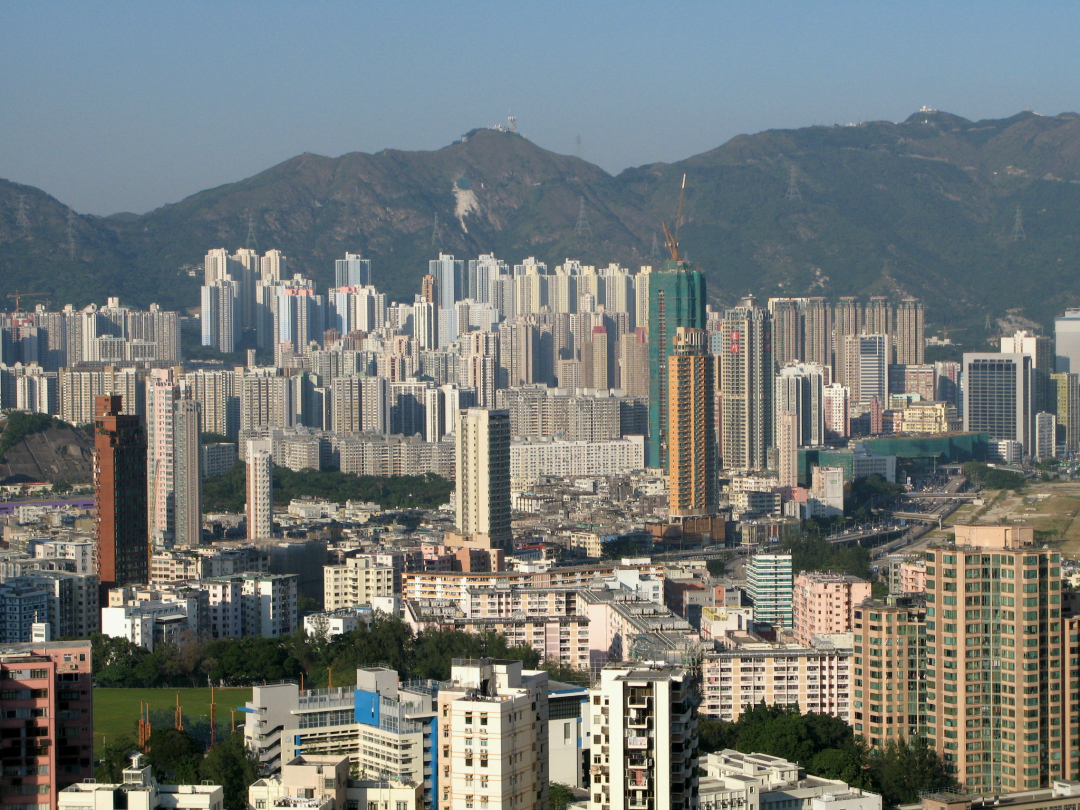
 Digital Art Tutorial Starting Image Size Color and Contrast: The Kowloon City image was washed out and too large so I sized it down to best balance the background and gave it a bit more color. I also upped the contrast, giving it a darker and brighter look.
 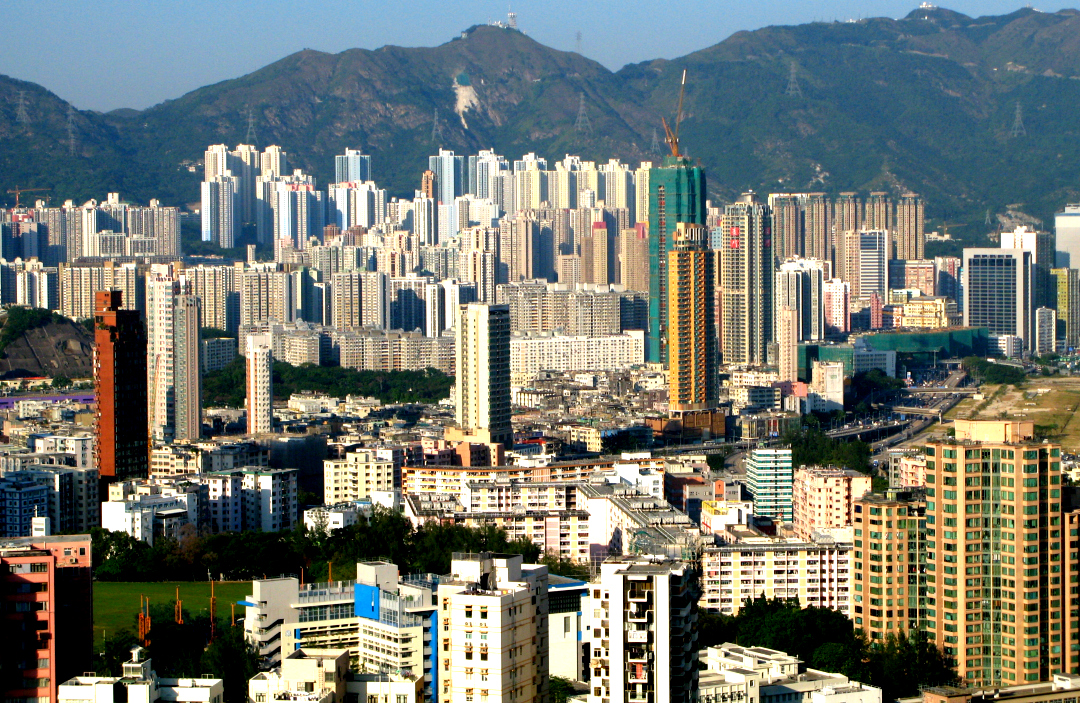 Digital Art Tutorial How To Use Overlays, Overlay One: My first overlay is an antique image of the City Investing Building. I liked the aged washed out effects this image came with, adding it as an overlay to the bright and colorful Kowloon City image was thrilling.
 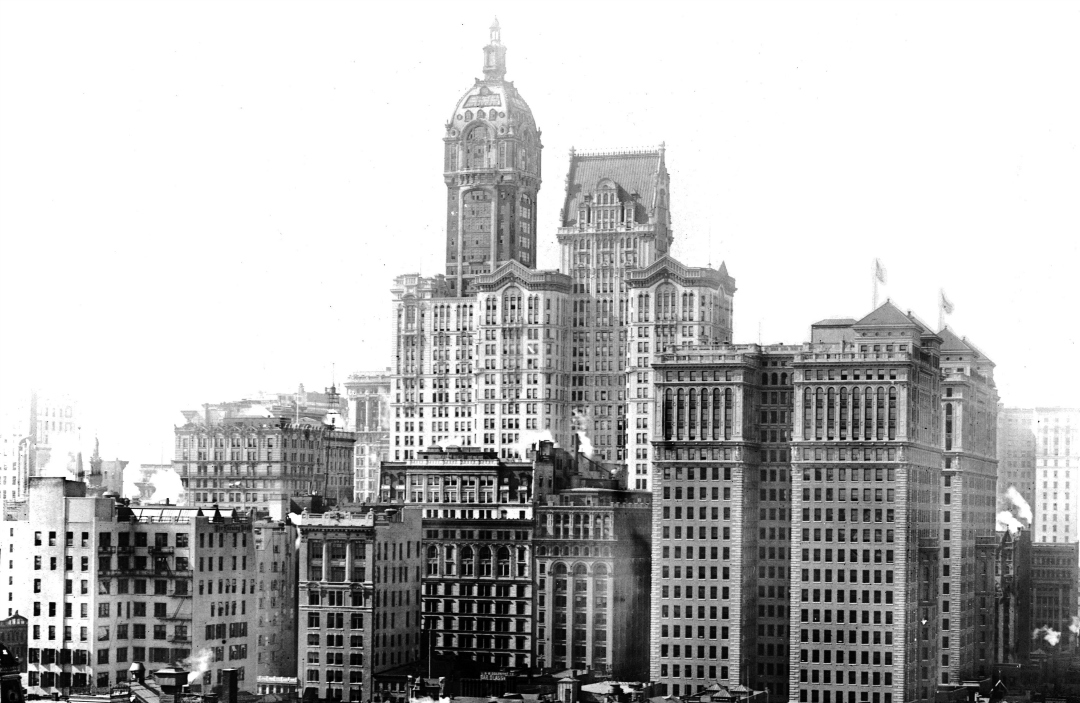 Digital Art Tutorial Overlay One, Sharpen and Brightness: Once added, I choose to give The City Investment Building image a ‘difference’ blend mode. The blend mode is located midway down on each overlay’s basic editor. This gave the overall image an other worldly effect and knocked the colors out of their comfort zone. Using the difference effect brought out the outline of the Kowloon City image and gave it a blue tint. I appreciated the details with more sharpness and clarity.
 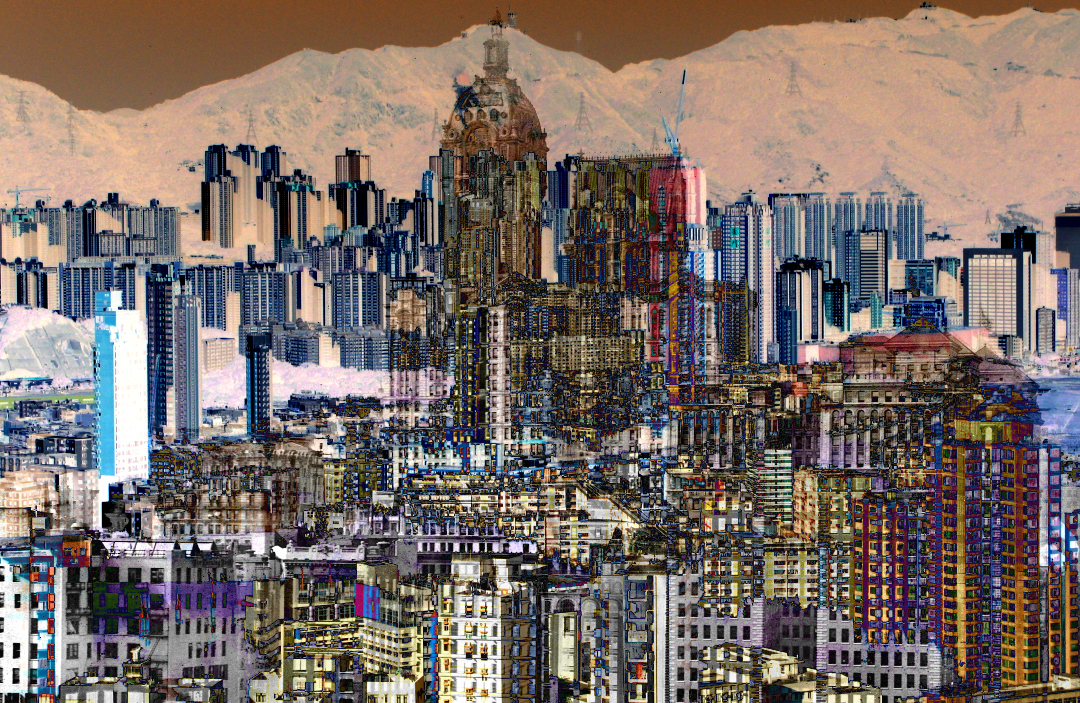 Digital Art Tutorial Overlay Two: This was the second overlay, an image of New York City. I’ve used this image in lots of my city artwork, I just love the detail and color. Adding it to this work seemed natural.
 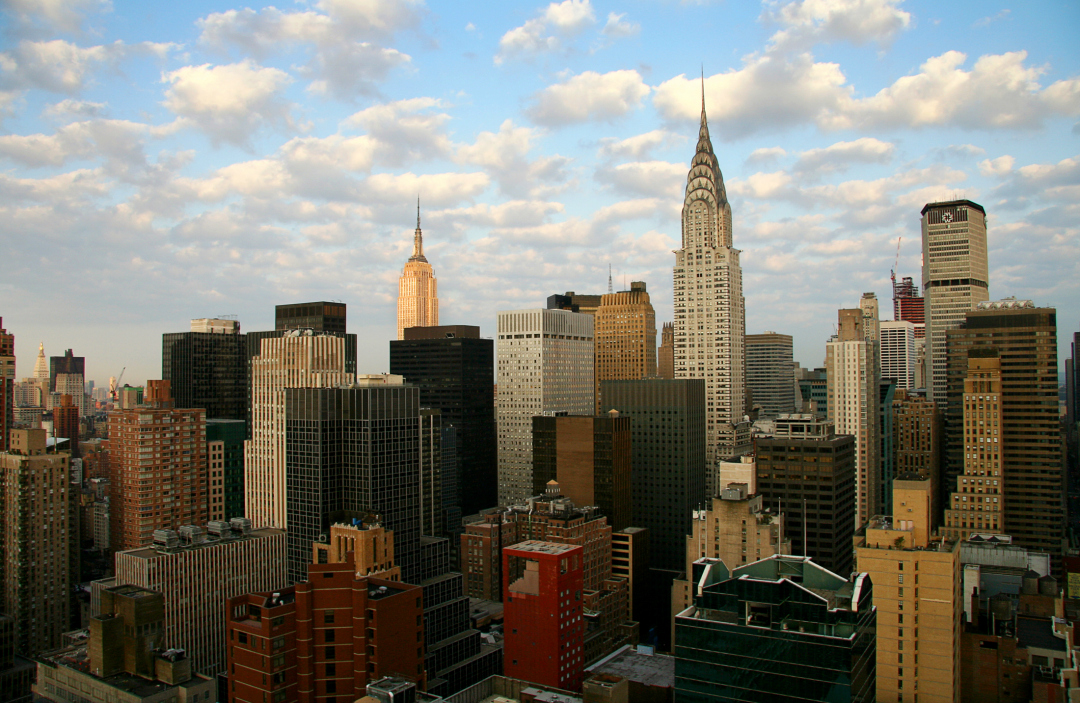 Digital Art Tutorial Adding Overlay Two: After adding the New York City image, I gave it a difference effect in the basic mode editor. The difference effect allowed the new overlay to blend with the rest, show through each layer. This is what it looked like before editing brightness, color and contrast levels.
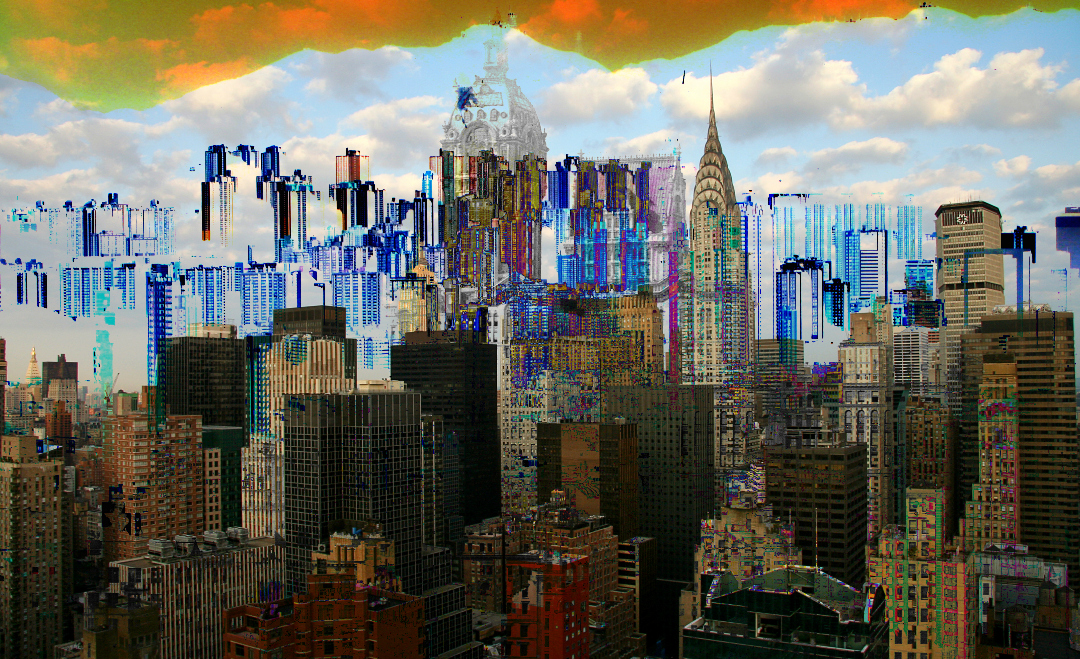
 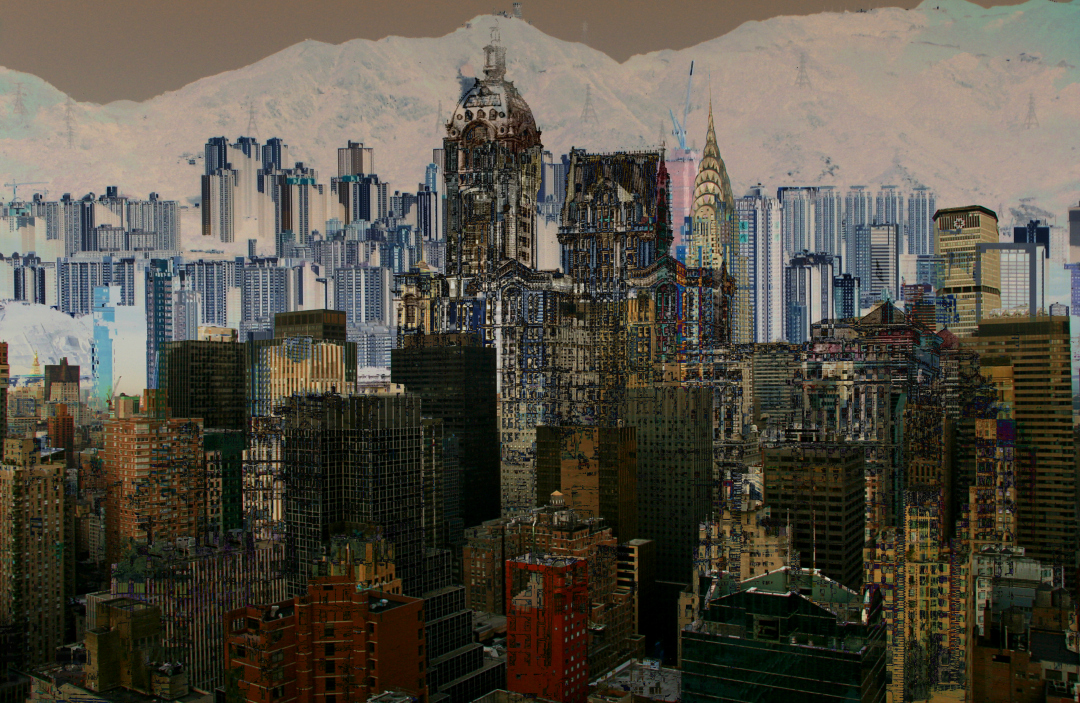 Digital Art Tutorial Final Step, Color and Orton: I then edited for color, contrast and a bit more brightness, testing the limits by trial and error. I essentially turn each edit tool up and down until I find the right look. I felt the work needed an Orton effect. You can find Orton under Tried and True in the PicMonkey Effects. I love Orton, it gives a dreamy glow and shine to the work. After saving my final edits, I change things up in ways that make the piece new, color variations, extreme contrast changes or additional overlays. There is always another great piece waiting just a few edits away.
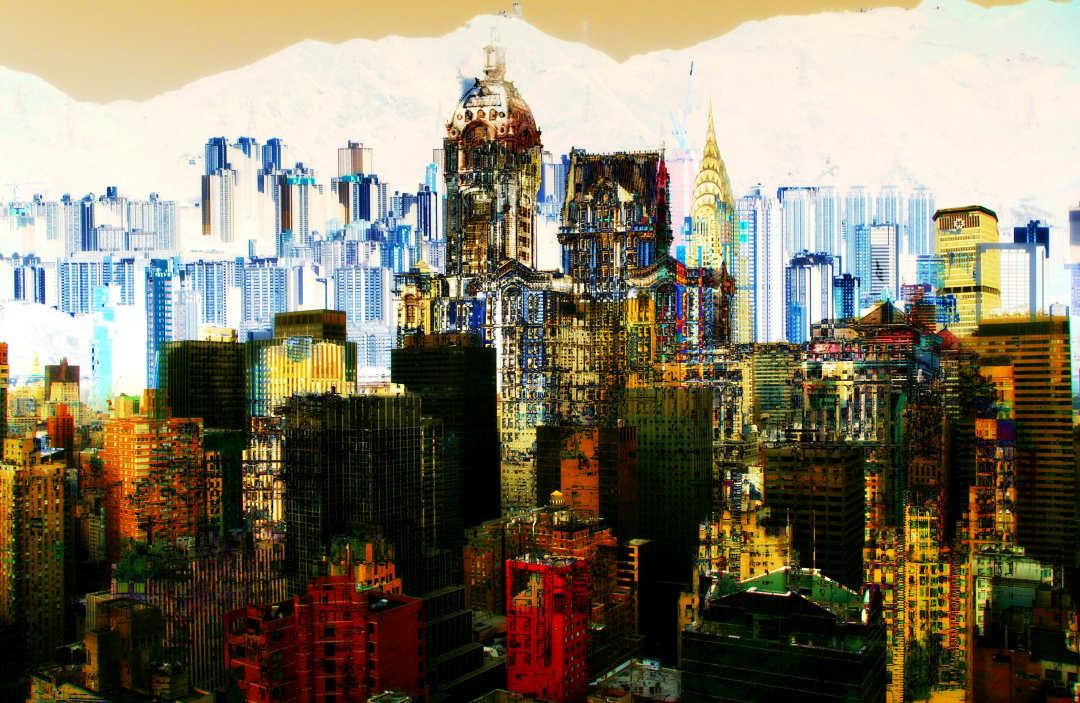
Thanks for visit the digital art tutorial page. There are more tutorials to learn how to make digital art, visit Digital Art Tutorials page to learn more.